
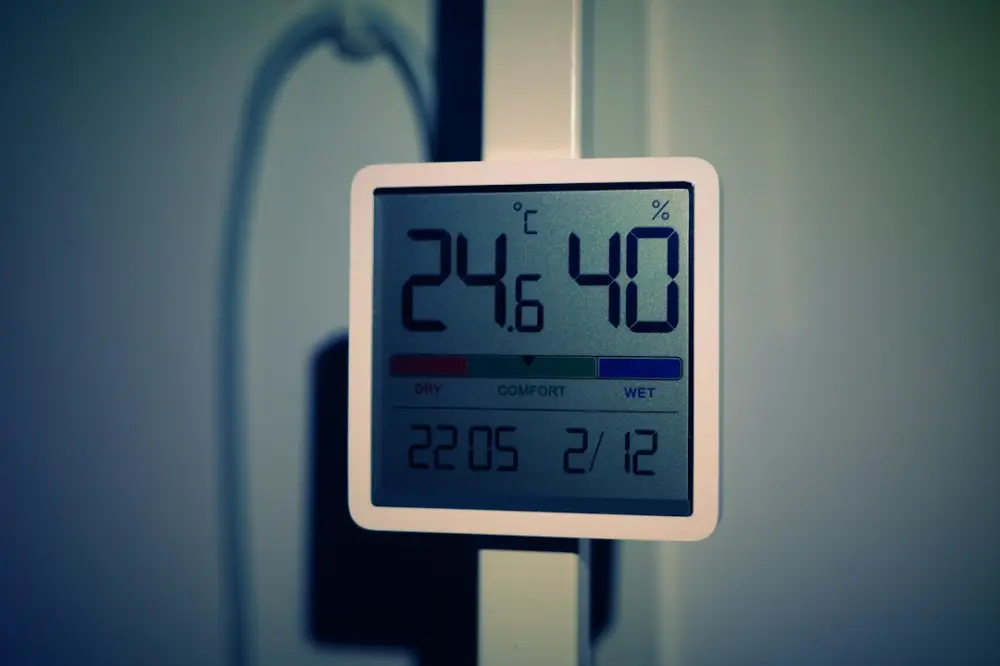
Temperature sensor calibration is the process of comparing a sensor's reading against a known, traceable reference to verify and adjust its accuracy. By following manufacturer guidance, users can account for sensor drift and environmental factors, ensuring that the device provides reliable data within its specified tolerance for sensitive tasks like homebrewing or industrial processing.
In a precision environment, even a minor drift of one or two degrees can significantly alter the outcome of a long-term project. Whether you are managing a sensitive fermentation or holding a sous vide water bath for 48 hours, knowing your equipment's actual performance against its stated specifications is the only way to ensure repeatable, professional results.
What is Temperature Sensor Calibration?
At its most basic level, calibration involves checking a measuring instrument against a standard of higher accuracy. For a digital temperature probe or a resistance temperature detector (RTD), this means placing the sensor in a controlled environment where the temperature is already known with certainty. By comparing what the sensor "thinks" the temperature is against the actual temperature, you can determine the margin of error.
Consider a digital kitchen thermometer used in a commercial bakery. If the display reads 212°F in boiling water but the actual temperature at that altitude is 210°F, the sensor has a two-degree positive offset. Calibration allows the user to either mathematically account for this error or, in many modern digital controllers, input an offset value so the device displays the corrected temperature automatically. This ensures that when the recipe calls for a specific thermal threshold, the user isn't inadvertently missing the mark due to hardware drift.
Assessing Process and Accuracy Requirements
Not every culinary or laboratory process requires the same level of precision. Identifying the specific needs of your project prevents over-complicating the calibration process while ensuring safety and quality. For example, a walk-in freezer used for long-term storage might only require accuracy within ±2°F, whereas a temperature-controlled fermentation vessel often requires precision within ±0.5°F to keep yeast healthy and prevent off-flavors.
When matching temperature equipment to culinary processes, consider the "fail point" of your ingredients. In chocolate tempering, a variance of just three degrees can be the difference between a glossy snap and a dull, blooming finish. By contrast, a smoker used for brisket is far more forgiving of slight fluctuations. Understanding these requirements helps you decide how often to calibrate and which tools are necessary for the job.
Selecting and Placing Sensors for Reliable Data
The type of sensor you use—whether it is a thermocouple, a thermistor, or an RTD—dictates how it should be handled and calibrated. Thermocouples are durable and fast but can be less accurate over time compared to RTDs, which are highly stable but more fragile. Placement is equally critical; a sensor that is not properly submerged in liquid or is touching the metal wall of a vessel will provide a reading of the container's surface temperature rather than the internal environment.
In a homebrewing setup, placing a probe inside a thermowell—a stainless steel tube that extends into the liquid—is the gold standard. This protects the sensor from moisture while ensuring it measures the core temperature of the wort. If you are using a surface-mount sensor, such as one taped to the side of a carboy, you must use insulating foam to prevent the ambient air temperature from skewing the data. Without proper placement, even a perfectly calibrated sensor will provide misleading information.
Step-by-Step Methods for Sensor Calibration
The most common way to calibrate a sensor at home or in a small professional kitchen is the ice bath method. It is reliable, accessible, and provides a stable 32°F (0°C) reference point. Follow these steps to ensure accuracy:
- Prepare the Ice Bath: Fill a tall glass or insulated thermos with crushed ice. Crushed ice is preferable to cubes because it minimizes the gaps where water can warm up.
- Add Distilled Water: Pour in just enough distilled water to fill the gaps between the ice. Do not add so much water that the ice begins to float; the ice must be packed tightly.
- Stir and Stabilize: Stir the mixture for at least two minutes to ensure the temperature is uniform throughout the container.
- Insert the Sensor: Place the probe into the center of the ice bath. Ensure the tip of the sensor does not touch the bottom or sides of the glass.
- Record the Reading: Wait for the display to stop fluctuating. If the sensor reads 32.5°F, you know your device has a +0.5°F offset.
- Adjust the Controller: Use the settings menu on your temperature controller to enter the negative offset, bringing the reading to exactly 32°F.
While the boiling water method is also common, it is more difficult to execute accurately because the boiling point of water changes based on barometric pressure and altitude. For most precision kitchen work in 2026, the ice bath remains the preferred baseline.
Interpreting Manufacturer Guidance and Tolerances
Every sensor comes with a specification sheet that outlines its "tolerance" or "class." For instance, a Class A Pt100 sensor has a much tighter tolerance than a Class B sensor. Manufacturer guidance will often specify the expected "drift" per year. Drift is the natural degradation of the sensor's accuracy caused by thermal cycling, moisture, or vibration.
Ignoring manufacturer manuals can lead to "calibration fatigue," where a user tries to calibrate a sensor that is actually functioning within its designed limits. If a manufacturer states a tolerance of ±1.0°F and your ice bath test shows a reading of 32.8°F, the sensor is technically performing as intended. However, for high-precision tasks, you should still use the controller's offset feature to zero that error out. Always check if your manufacturer recommends a specific frequency for professional re-certification, especially for equipment used in commercial food production.
Managing Long-Term Calibration Schedules
Calibration is not a one-time event; it is a maintenance task. Sensors used in high-heat environments, such as those inside a mash tun or a sous vide bath, will drift faster than those kept at room temperature. Establishing a schedule helps you keep your precision kitchen gear running reliably for years.
A good rule of thumb for the serious hobbyist or small-scale professional is to calibrate at the change of seasons or before any major project. If you are starting a complex, high-gravity fermentation that will last several weeks, a five-minute ice bath check beforehand can prevent a week of stress. Keeping a simple logbook of calibration dates and the offsets found can also help you identify when a sensor is reaching the end of its life; if the offset grows significantly every time you check it, the sensor's internal components are likely failing.
Why Precise Calibration Improves Fermentation Results
In the world of fermentation, temperature is the primary lever for controlling yeast behavior. Different yeast strains produce vastly different ester and phenol profiles based on just a few degrees of variance. If your controller is uncalibrated and running two degrees warmer than reported, a clean-fermenting ale yeast might suddenly produce unwanted fruity or spicy notes that ruin the balance of the beverage.
At BrewJacket, we focus on the intersection of hardware reliability and culinary precision. By mastering the nuances of temperature sensor calibration and following manufacturer guidance, you remove the guesswork from your process. Whether you are aging a delicate lager or maintaining a precise sous vide environment, the integrity of your data is what allows you to repeat your successes. Understanding your equipment’s limits and keeping it tuned ensures that your final product is exactly what you intended it to be.